Mini Split for Workshop DIY: A Homeowner's How-To
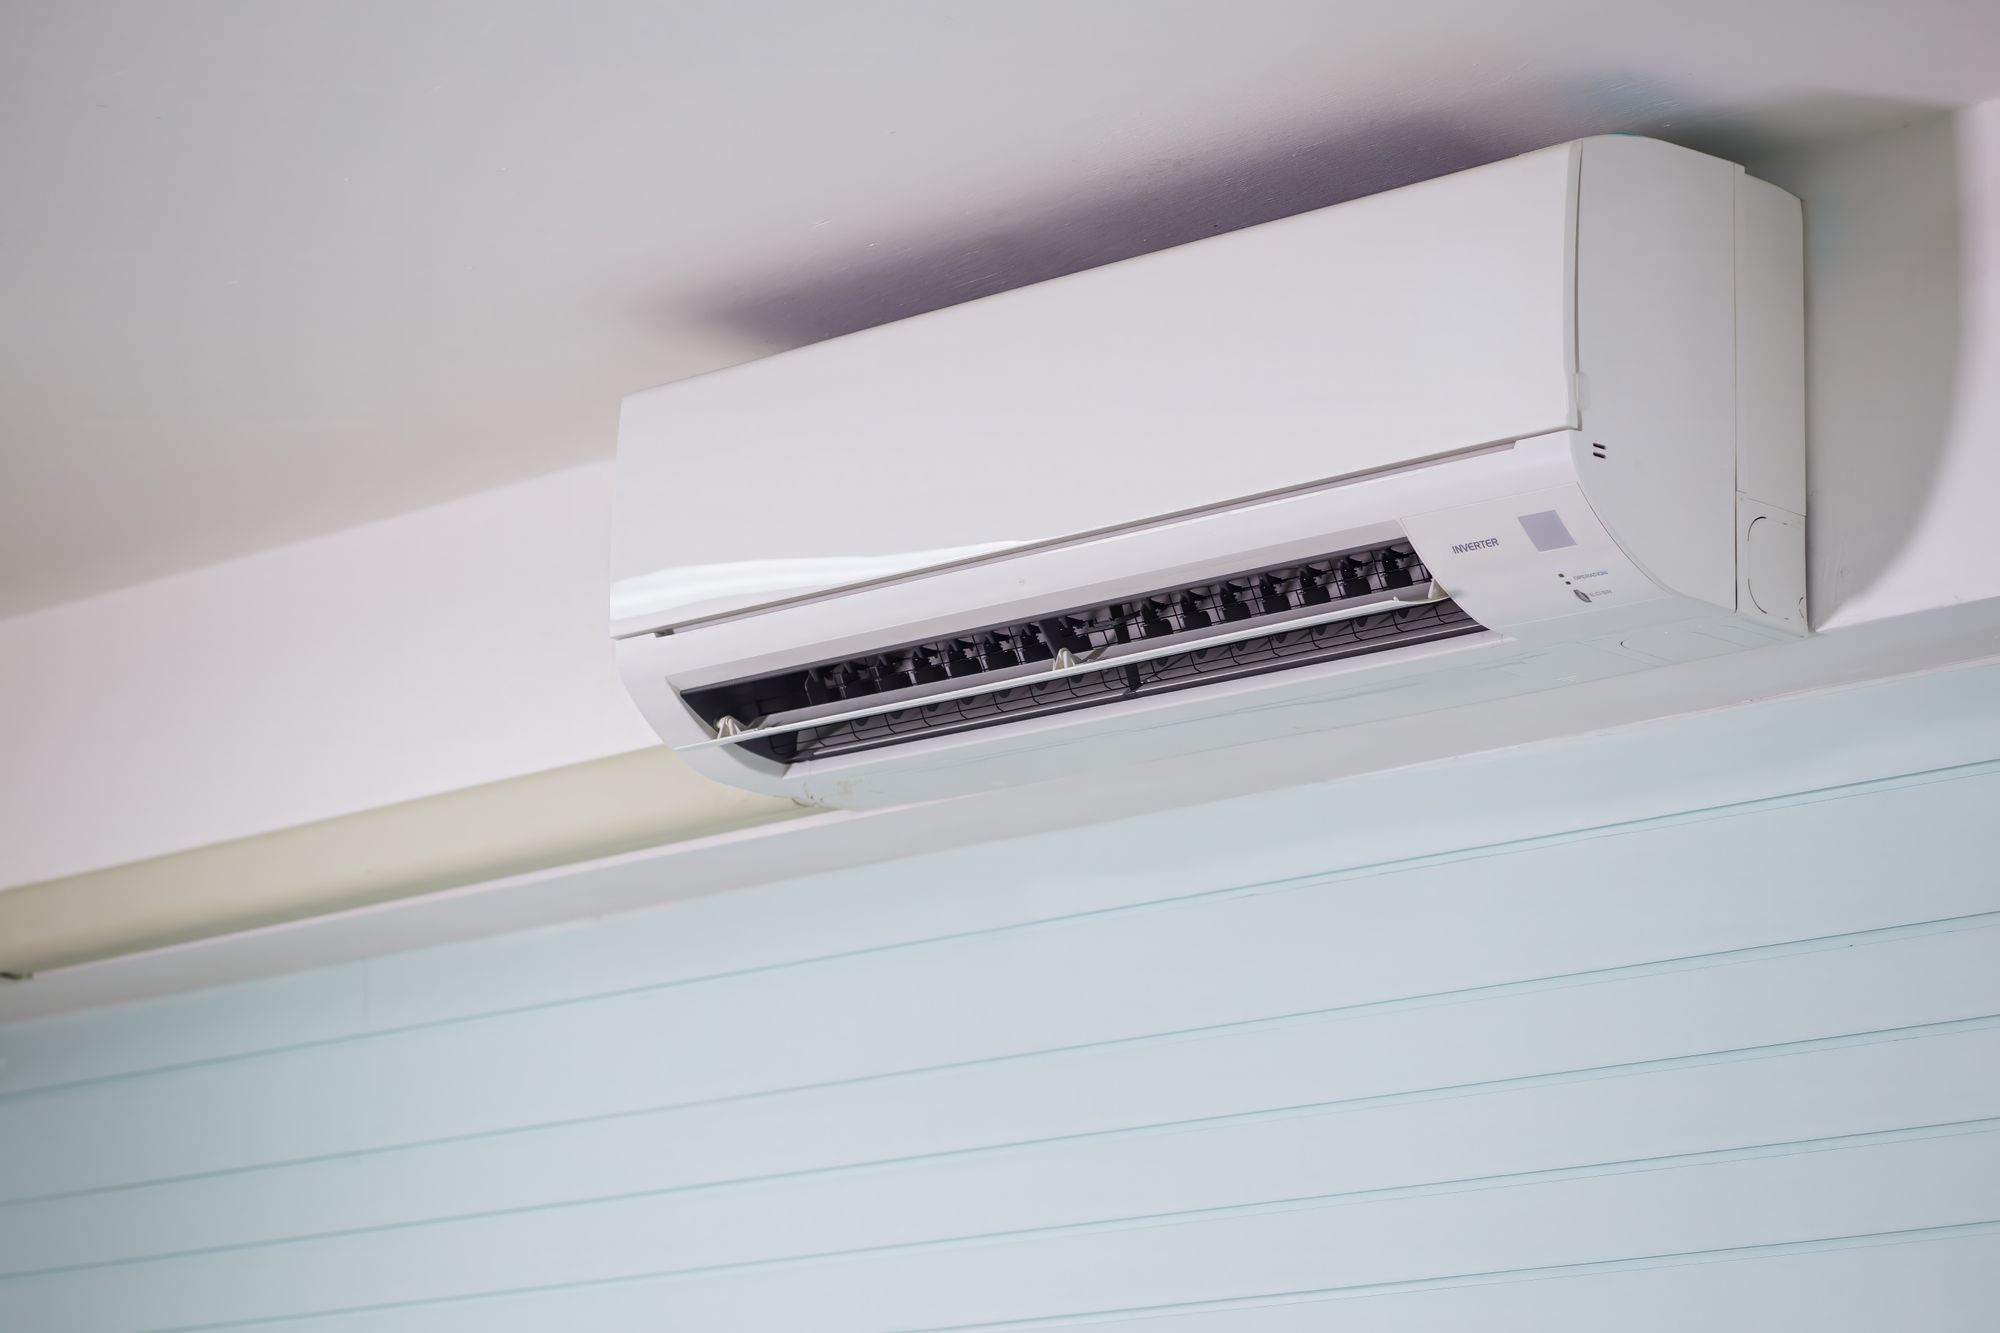
I'm Ken, a homeowner in Wilmington, North Carolina, and I've spent more weekends than I can count turning my garage into a comfortable shop. If you're wondering how to handle heating and cooling in a space your house HVAC never reaches, a mini split for workshop DIY is worth a serious look. Installing a mini split system improves year-round comfort in workshops, and ductless mini splits provide excellent energy efficiency without ductwork. Mini splits often consume significantly less electricity than traditional HVAC systems, and DIY mini split installation requires no specialized training - the whole job can be completed in just a few hours.
Is a Mini Split Right for Your Workshop?
You can think about how you use the space. Woodworking, auto work, home gym, summer projects - all of them are easier to do when you have climate control. But before you buy, you should weigh a few things:
- Insulation and air leakage. An uninsulated shop acts like a space that is 30–50% bigger when you figure the load. A garage door that is poorly sealed is usually the biggest leak.
- Frequent door openings. Every time that overhead door rolls up, conditioned air goes right outside. If your door stays open for hours, you'll need a bigger unit or a supplemental plan.
- Zone count. You can choose a single-zone mini split for one room or one bay. Multi-zone systems connect multiple indoor units to one outdoor unit, which makes sense if you have separate rooms. Single-zone mini splits heat and cool one room efficiently, and multi-zone mini splits connect multiple rooms to one outdoor condenser.
Mini splits allow room-by-room temperature control for improved efficiency, unlike a central system that conditions the whole house.
Sizing and Choosing Mini Splits for Workshops
The BTU capacity is what you use to size a mini split based on how many square feet your workshop has. Common capacities range from 9,000 to 48,000 BTU. Here's a rough guide:
| Factor | Cooling BTU/sq ft | Heating BTU/sq ft |
|---|---|---|
| Insulated shop | 20–25 | 25–30 |
| Uninsulated shop | 28–35 | 35–45 |
| Add per ft above 8 ft ceiling | +10% | +10% |
Example: A two-car garage at 24×24 ft (576 sq ft) with basic insulation might need 12,000–17,000 BTU for cooling and 17,000–23,000 BTU for heating. Workshops have unique thermal loads from high ceilings and uninsulated doors, so adjustments matter.
The BTU for shops needs adjustments for insulation quality, climate and equipment heat. Proper sizing improves comfort and efficiency - if you undersize a mini split, it runs constantly without enough cooling, and if you oversize it, you get short-cycling and poor humidity control. A proper load calculation is preferable to sizing based solely on square footage. If you're in colder climates or just want a warm shop through a Wilmington winter (design temp around 28°F), MRCOOL HyperHeat systems perform well in cold climates and maintain output when it matters most.
Ductless Heat Pump Options
There are two groups here: DIY precharged kits and professional-grade systems.
- DIY precharged systems. MRCOOL DIY systems use factory pre-charged line sets and are designed for amateur installation without special tools. They include a 25 ft armored communicating wire, and the installation process uses a patented Quick Connect® Line Set. You connect the lines, mount the heads and power up.
- Pro systems. These need brazed joints, a vacuum pump and refrigerant charge verification. You get better warranties on premium brands, but you're hiring a tech.
When you're choosing an outdoor unit, you'll want to match its capacity to your indoor BTU needs. For a coastal location like Wilmington, salt air accelerates corrosion on coils and fasteners. Look for Blue Fin or Gold Fin coated coils and stainless hardware - without them, an outdoor unit's life can drop to 3–5 years. That sounds dramatic, but I've seen it on stuff left unprotected near the coast. Keep the unit away from neighboring windows and mount it with vibration isolation for noise control.
Where to Put the Units
Place the indoor head away from the sawdust zone. Workshops generate dust that needs monthly cleaning of indoor unit filters, and putting the head directly above your miter saw or grinder makes that problem worse. Mount it on a wall where airflow reaches the occupied area but stays clear of direct dust output.
The outdoor unit needs open air on all sides. Keep it elevated above splash and drainage lines, and sealed against moisture infiltration at the wall penetration.
Indoor Head Mounting Tips
- Mount the head 7–8 ft from the floor, per manufacturer specs, on a level bracket into studs or blocking.
- Point the louvers toward the setting where you spend the most time.
- Use vibration isolation pads behind the wall bracket to cut noise that goes into the structure.
Outdoor Unit Siting Tips
- You'll want to keep the outdoor unit at least 12 inches from walls for enough airflow.
- Make sure the condensate drain and any condensation slope away from the structure.
- Avoid placing it where garage door spray or runoff hits it - that mess shortens part life fast.
Electrical, Permits and Local Rules in NC
Mini split installation involves electrical power, refrigerant and wall penetrations. Electrical requirements vary for mini splits based on capacity and climate - a 12,000 BTU unit on 240 V needs different wiring than a 24,000 BTU system.
In North Carolina, G.S. 87-43.1(5a) exempts a homeowner doing electrical work on their own property for their own benefit, as long as the property isn't intended for rent, lease or sale. That's a great tool for DIY, but there's a catch.
New Hanover County's Owner Exemption Affidavit needs the owner to personally superintend the work, be present for every needed inspection, and the affidavit gets sent to the NC Licensing Board for General Contractors. Willful false statements are a Class F felony - not something to take lightly.
A few more local concerns:
- A CAMA minor permit is likely needed for work within 75 ft of the normal high water line on an estuarine shoreline, or within 575 ft of a Resource Water shoreline.
- Wilmington and the three beach towns run their own flood ordinances. If your shop sits in a floodplain, confirm the outdoor unit is above base flood elevation.
For running-cost planning, Duke Energy Progress put the typical NC residential bill at $163.84 a month for 1,000 kWh in its November 20, 2025 rate filing and asked to raise it by $23.11 to $186.95 on January 1, 2027, plus $6.59 more in 2028, waiting on NCUC approval.
Tools, Materials and Prep for DIY Installation
Essential tools: drill with hole saw (3" or per manufacturer), level, stud finder, multimeter, torque wrench and a remote thermometer for commissioning. If you purchased a precharged kit, you skip the vacuum pump and gauges.
Verify your line-set length matches the run from indoor head to outdoor unit. Plan the condensate drain slope or install a pump if gravity won't cooperate. Sketch your template on the wall, mark stud locations and confirm your electrical panel has room for a dedicated breaker before you start drilling.
Step-by-Step DIY Mini Split Installation Overview
DIY mini split systems use factory pre-charged line sets, which makes the process simpler. Here's the sequence:
- Mount indoor bracket - level, into studs, at the height the manufacturer recommends.
- Drill the wall hole - pitch it slightly downward toward outside so it can drain.
- Route lines - push line set, drain and communication wire through the wall. Maintain bend radius.
- Mount outdoor unit - on a level pad with isolation feet, with minimum clearance on all sides.
- Run electrical - dedicated circuit, correct wire gauge, disconnect box, all to code.
- Install condensate drain - slope away from structure, check for leaks.
- Vacuum, pressure and leak check - precharged kits handle most of this, but verify connections are sealed.
- Power up - confirm heating and cooling modes, check temperature delta and learn the remote.
Installation can be completed in just a few hours with a precharged system and basic tools.
Testing and Commissioning
- Check airflow at each fan speed. You want a temperature delta of 15–20°F in cooling mode.
- In winter, observe defrost cycles on the outdoor unit - the system should clear frost and resume heating automatically.
- Listen for unusual compressor or fan noise. Rattles or squeaks usually mean something isn't mounted tight.
Garage Door and Workshop-Specific Considerations
Your garage door is the weakest link. Seal gaps with weather-stripping and consider an insulated door if yours is bare steel. When the door is closed, a sealed shop holds temperature far better.
For heavy dust tasks - sanding, grinding - move them outside or use localized dust capture. A simple pre-filter over the indoor unit intake cuts maintenance. When the shop isn't in use, cover the indoor head to keep sawdust off the blower wheel.
Maintenance, Troubleshooting and Winter Care
- Clean or replace the filter every month, or more often if your shop is dusty.
- Rinse the outdoor unit coils with fresh water on a regular basis, especially in a coastal location where salt builds up.
- Inspect electrical connections once a year for corrosion and tightness.
- For refrigerant or compressor failures, call a pro. That's high-pressure, warranty-sensitive work.
When to Call a Pro
- Refrigerant charging beyond what the precharged kit supplies, or long line sets that need field charging.
- Permanent electrical service upgrades - new panel, meter base or DC-rated disconnect work.
- Permit-heavy or structural changes where a licensed contractor is required.
- Warranty-sensitive installations on premium brands that demand certified install.
Cost, Savings and Energy Use
Here's what you'll want to budget in North Carolina as of 2026:
| Item | DIY Cost | Pro Installed |
|---|---|---|
| Single-zone (12K–18K BTU) | $1,500–$3,000 | $2,900–$8,700 |
| Multi-zone (2–3 heads) | $3,000–$5,500 | $7,500–$13,000 |
| Coastal corrosion package | +$200–$500 | Included in many quotes |
Many mini split models achieve high SEER2 efficiency ratings. At NC's average rate of about 15¢/kWh, a 12,000 BTU system with SEER2 around 20 might cost roughly $450 per year for combined heating and cooling. That's a fantastic investment compared to running space heaters and window AC units. Insulating your shop first can let you buy a smaller unit, lowering both upfront cost and running cost - a difference that pays for itself in a few seasons.
Checklists, Forms and Local Resources
Pre-install checklist:
- Measure shop dimensions and ceiling height
- Check insulation levels and garage door condition
- Check electrical panel capacity
- Pull the permits you need (building, electrical, CAMA if applicable)
Owner Exemption Affidavit checklist:
- You must be the homeowner and occupant
- Property not intended for rent, lease or sale
- You personally superintend all work
- You are present for every inspection
- Understand that false statements constitute a Class F felony
Local contacts:
- New Hanover County Building Safety - permits and floodplain questions
- County CAMA office handles shoreline setback permits
- Duke Energy Progress - rebate programs and rate information
Commissioning and maintenance checklist:
- Verify temperature delta (15–20°F cooling)
- Confirm defrost cycles in heat mode
- Log filter cleaning dates
- Inspect electrical connections and outdoor coil annually
- Check drain lines for clogs or condensation backup
If you have more comments or concerns about your specific shop setup, drop them below. Understanding your space is the first step - from there, planning the right mini split install is a simple weekend project that pays off every time you walk into a comfortable workshop.