How to Vent a Bathroom Without Attic Access (DIY Guide)
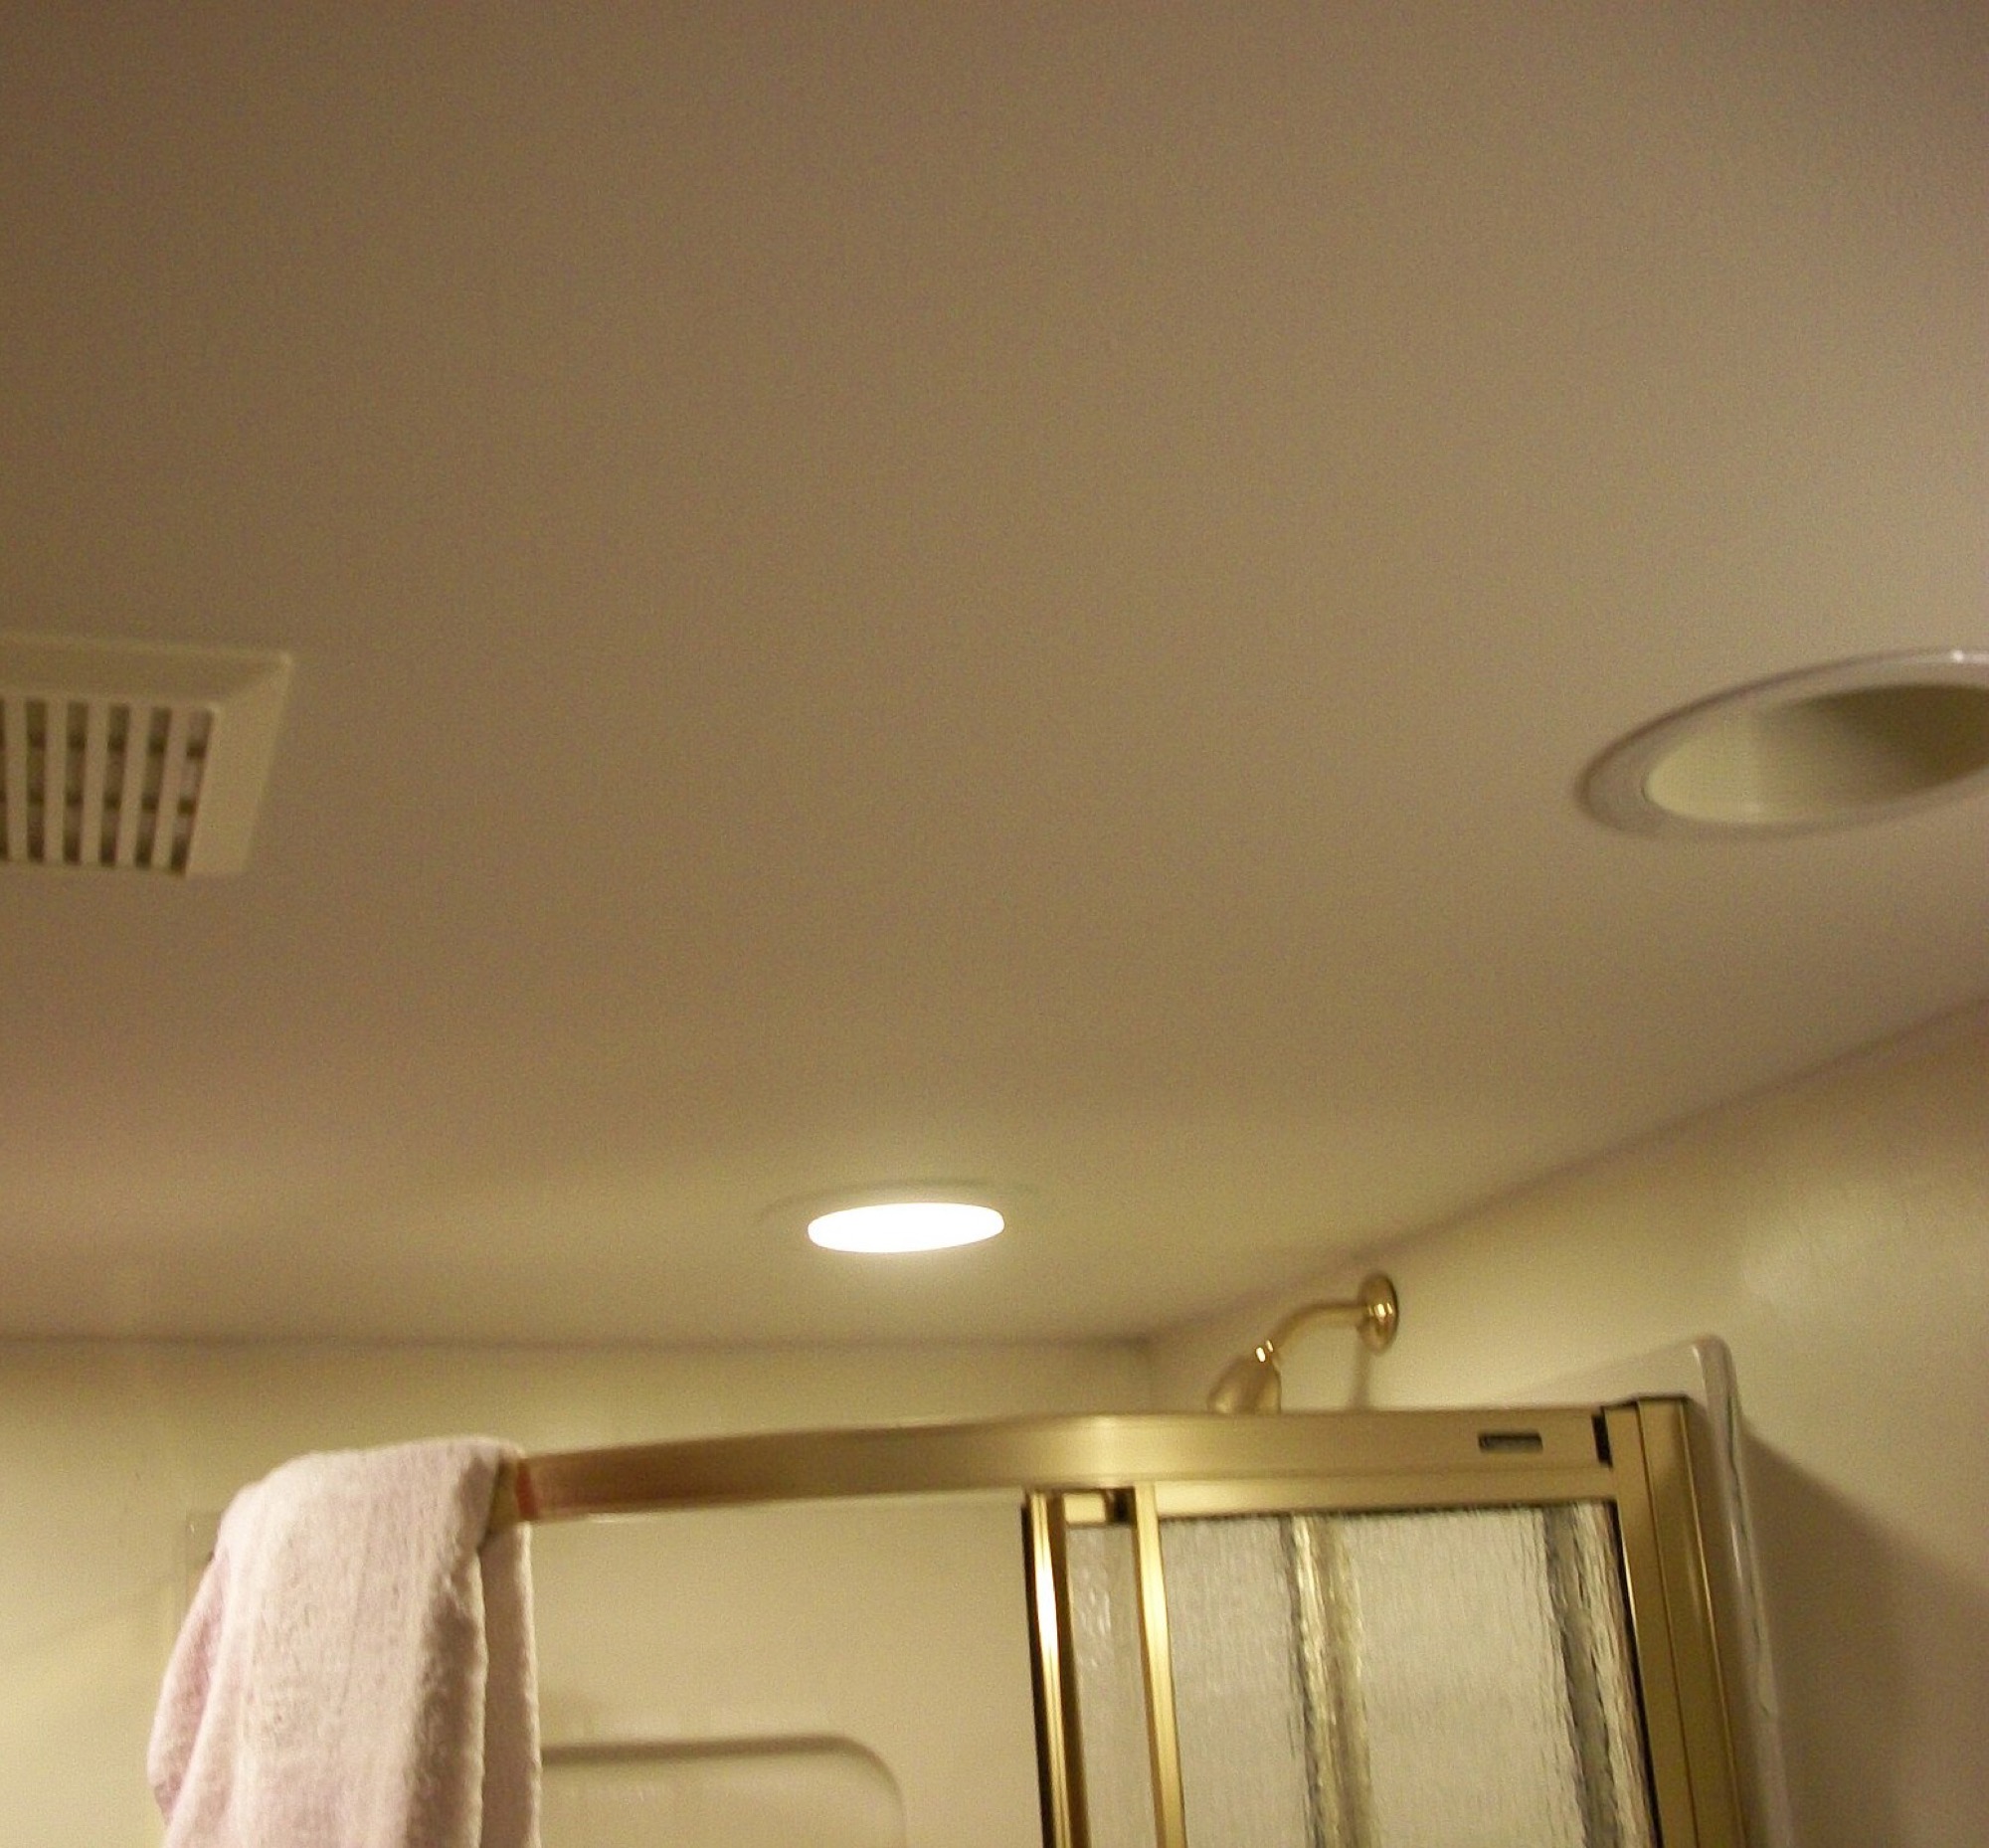
If you have ever looked at a bathroom ceiling and known there is nothing but roof sheathing above it, then you already understand the frustration of figuring out how to vent a bathroom without attic access. I'm Ken, and I'm a DIY homeowner in Wilmington, NC and I've dealt with this exact problem myself. The good news is that you absolutely can vent a bathroom without attic access, and here is everything I have learned about getting it done.
Key Takeaways
- You can vent a bathroom without attic access by going through an exterior wall, through the roof with ducting, into a soffit with the correct hood, or down into a crawl space and then outside.
- A bathroom exhaust fan should always send moist air to the outdoors, and never into wall cavities, ceilings or an open attic. This is a building code requirement and it is also a moisture control issue.
- Most handy homeowners can handle a wall-vented bath fan install in a weekend, but cutting roofs or fixing electrical is usually a job where you would want to call a pro.
- Ductless or reuse fans and dehumidifiers help with air quality and odors but do not replace a true exterior-vented bathroom fan for moisture control.
Why Bathroom Venting Matters Without Attic Access
Many Wilmington homes - slabs, bonus rooms over garages and townhouses - don't have usable attic space above the bathroom. But every one of them still has a need for real bathroom ventilation. The EPA states exhaust fans are essential for moisture control, and that is not just a government opinion. It is what stands between you and a whole lot of expensive damage.
A bathroom exhaust fan protects air quality by sending steam, odors and pollutants outside instead of letting them soak into your house. Good ventilation is what improves indoor air quality in bathrooms and keeps the rest of your home healthier too. Mold and mildew make asthma and allergies worse, and damp bathrooms that smell bad are unpleasant for everyone.
Here's what happens with poor ventilation:
- Peeling paint within 1–2 years
- Swollen doors and trim
- Moldy caulk lines around the bathtub and around the shower
- Musty towels that never fully dry
- Mildew spots on ceilings and walls
Excess moisture can damage paint, drywall and fixtures faster than most people expect. Improperly vented exhaust fans can cause moisture damage, and moisture trapped in attics can lead to mold growth and structural damage. Inadequate ventilation can lead to costly repairs and renovations - neglecting fan replacement alone can result in repair bills up to $16,000 when mold gets into framing and insulation. High humidity in bathrooms will wreck paint and drywall long before anything else shows symptoms.
Building codes in most areas require that a bathroom exhaust fan or vented window discharge outdoors - not into an attic, crawl space or wall cavity.
Step 1: Check for No Attic Access
Before you plan fixes, confirm there really is no usable attic or chase above your bathroom. You may overlook small access panels that are hiding in hallway closets, garages or laundry rooms and that are painted the same color as the ceiling.
Check for vertical chases or dropped soffits nearby that might hide existing ductwork that you can extend. In some slab-on-grade or flat-roof houses, there really is no attic space. In that case, you can focus on through-the-wall, down-to-crawl or direct roof duct options.
Take photos and measurements of your bath ceiling, your nearby exterior walls and your roofline. This guides which vent fan route is most practical.
Ways to Vent a Bathroom Without Attic Access
So what are your main strategies? Here's a quick overview:
- Through an exterior wall - shortest path, easiest DIY
- Through the roof using ducting - direct but involves roofing work
- Into a soffit with a proper hood - hidden from view, needs careful installation
- Down through a wall to a crawl space, then outdoors - good for raised foundations
Option 1: Vent the Bathroom Exhaust Fan Through an Exterior Wall
Here's the general process:
- Find a stud bay on the exterior wall and check for electrical or plumbing that is inside it
- Cut the wall opening from inside using a long drill bit so you can mark your exit point on the outside of the house
- Run a short section of 4–6 inch rigid or semi-rigid exhaust duct to the outside
- Install an outside vent hood with a backdraft damper
- Mount the fan housing on the ceiling or wall and connect the duct
Choose a quiet, modern bathroom exhaust fan that is sized correctly - 80–110 CFM for a typical single bath - and rated for wall or ceiling installation. In cold climates, use insulated duct, slope it slightly toward the outside to prevent condensation from running back into the fan, and seal around the exterior hood with high-quality exterior caulk.
Option 2: Run a Duct to the Roof Without Attic Access
Here's how it usually works: cut a precise hole in the bathroom ceiling for the bath fan, use a short section of rigid duct straight up, and cut a matching hole in the roof for a metal roof vent cap with built-in damper and flashing.
Roof penetrations are high-risk for leaks. Integrate flashing under shingles above and over shingles below, and seal with roofing cement per manufacturer instructions. You should hire a roofer or experienced contractor for the exterior roof work, especially on asphalt shingle roofs.
Safety reminder: Roof work involves fall risk and can void roof warranties. Call a pro if you're unsure, especially on steep-slope roofs or older breakable shingles.
Option 3: Vent Through the Soffit
The correct setup uses a dedicated soffit vent hood that points the exhaust air stream out and away from the house and from any intake vents. Specialized soffit vent hoods with backdraft dampers and directional louvers are available and should always be used instead of generic grilles. Run insulated duct from the bathroom fan to the hood, with as few bends as possible. Mechanically fasten and tape all joints, and strap the duct securely so it doesn't sag and collect water.
Your local code may require the exhaust termination to be at least 3 feet from operable windows or intake vents. Always check with your building department before committing to a soffit route.
Option 4: Downward Venting Through a Crawl Space
The bathroom vent must still exit fully outdoors through a proper wall cap or hood in the band joist - never just dumping into the crawl space. Never vent a bathroom exhaust fan into an enclosed space to avoid moisture problems.
Here in North Carolina, crawl spaces are tightly regulated. NC code requires 1 sq ft of net vent area per 150 sq ft of crawl floor, or 1 per 1,500 sq ft when the ground is covered with a vapor retarder and vents provide cross-ventilation. You don't want to add concentrated shower steam to that environment on top of existing ground moisture.
NC code also requires at least an 18 x 24 inch crawl space access opening. If access is tight, many homeowners prefer to hire a pro for the crawl space duct routing and terminations.
Option 5: Roomside Fans When You Can't Reach the Ceiling
When installing a new fan this way, match the duct size (upgrading from 3-inch to 4-inch where possible) for better effective ventilation and quieter operation. If you're comfortable with basic electrical work, a roomside swap is a solid weekend project. Call an electrician if wiring is aluminum, ungrounded or obviously unsafe.
When You Can't Vent Outside Supplemental Solutions
Building codes generally require bathroom exhaust fans to vent directly outdoors. These methods are supplements or last resorts, not replacements.
Choosing the Right Bathroom Exhaust Fan and Ducting
Size your fan by room area: about 1 CFM per square foot. A 70 sq ft bathroom needs around a 70–80 CFM exhaust fan, more if there's a jetted tub or enclosed shower. The minimum target for exhaust fans in residential bathrooms is 50 CFM for intermittent operation.
Pick quiet bathroom fans in the 0.3–1.5 sones range. ENERGY STAR-rated units save power long-term and meet minimum efficiency requirements (about 2.8 CFM per watt for fans under 90 CFM).
For ducting material, smooth rigid or semi-rigid metal duct beats flexible foil or plastic duct every time for effective airflow and lower condensation risk. Use short flex connections only at the fan housing.
All joints should be secured with metal screws and foil tape - not cloth duct tape. Ducts running through unconditioned spaces need insulation. Backdraft dampers prevent outside air from entering the duct system when the fan isn't running and keep bugs and rodents out. In NC, we also have to respect small vent screening sizes - no more than 1/4 inch openings - to keep critters out of crawl spaces and wall vents. Crawlspace vents in NC must also have one vent within 3 feet of each building corner.
Safety Codes and When to Call a Pro
Check your local building code or talk to your inspections office about bathroom ventilation requirements, especially CFM ratings, duct routing and where a bath fan can end. Exhaust ducts must terminate outside to prevent mold and rot. Bathroom exhaust fans should vent directly outdoors to prevent issues.
Key safety rules:
- Never tie a bathroom fan duct into a dryer vent or kitchen range hood
- Avoid exhausting near combustion appliance intakes
- Never dump moisture into attics, closed crawl spaces or wall cavities
For carbon monoxide safety, the CPSC recommends a CO alarm on each level and outside sleeping areas, but not in kitchens, above fuel-burning appliances or in attics or basements without a sleeping area. Test monthly and replace batteries yearly unless the alarm has a sealed 10-year battery.
Call a pro when:
- Cutting into a roof that you are not comfortable walking on
- Running new electrical circuits
- Encountering aluminum or knob-and-tube wiring
- Seeing signs of existing mold in ceilings or walls
One thing worth knowing: NC's general contractor law (G.S. 87-1(b)(2)) lets owners build or alter a building on their own land without a GC license if it's solely for their own family's occupancy. But if you don't live in it for at least 12 months after completion, the law assumes you didn't qualify. Big structural changes or resale plans within a year may trigger different expectations from inspectors and buyers.
Keep Your Bathroom Vent Working
- Every 3–6 months: Turn off power, remove the fan grille, vacuum dust from the grille and motor, and wipe surfaces with a damp cloth.
- Twice a year: Check the exterior vent hood and clear lint, insect nests or paint overspray that can block the damper or louvers.
- Every shower: Run the fan during use and for at least 15–20 minutes afterward. A timer switch makes this automatic.
Frequently Asked Questions
Is a window enough ventilation for a bathroom without an exhaust fan?
Older codes sometimes allowed an operable window instead of a fan, but many current codes require a mechanical exhaust fan. Relying on a window means you only get ventilation when the weather cooperates and someone remembers to open it - in winter, that rarely happens. From a practical standpoint, install a dedicated bathroom exhaust fan for year-round moisture control regardless of whether you have a window.
Can I Tie My Bathroom Fan Into a Kitchen or Dryer Vent?
No. A bathroom exhaust fan should not share a duct with a kitchen range hood or dryer vent. Combined vents create grease and lint buildup, airflow imbalance and code violations. Moist air or grease can push back into one appliance when the other runs. Always give each exhaust system its own dedicated duct and exterior vent hood.
What If Your Ceiling Is Concrete?
Use a through-the-wall exhaust fan on an exterior wall, or route ductwork through an adjacent closet or soffit instead of the slab ceiling. In condos or multifamily buildings with concrete decks, check HOA rules and talk to building management before modifying structural elements or shared walls. A wall-vented fan plus a supplemental dehumidifier may be your most realistic combination.
How Do You Know If Your New Fan Is Helping Air Quality?
Simple checks tell the story: mirrors should clear within 5–10 minutes after a shower, and walls and ceilings should dry without staying damp. Pick up an inexpensive humidity meter and monitor humidity - you want it dropping back toward 40–50% within 20–30 minutes after a shower. If the room still smells musty or you see condensation drops forming, check for duct blockages, a stuck damper or a fan that is too small.