How to Cool a Workshop: Energy-Efficient Shop Cooling for DIYers
Quick Intro
Figuring out how to cool a workshop is something I end up dealing with every summer. I'm Ken, and I work out of my home workshop in Wilmington, North Carolina. Summers here are no joke. The average high in Wilmington is 74.4 °F across the year, but July pushes that to 90.0 °F with lows that barely dip below 73.0 °F at night. Combine that heat with power tools running, a metal roof soaking up sun, and 60-plus inches of annual rainfall driving humidity through the ceiling, and you've got a workshop that can feel like a steam room by noon.
Keeping a workshop cool can be essential for safety and for how your equipment performs. Tools that get hit by heat can wear out faster, finishes can dry the wrong way, and the person running the saw can start making bad decisions. This guide is for you if you want a comfortable shop without a commercial HVAC budget. Every project in here is something I'd tackle on a weekend or recommend to a friend.
How to Assess Your Workshop
Measure your footprint and volume. Grab a tape measure. You'll want to record the length, width and ceiling height. Multiply all three for cubic footage. A shop that is 25 × 12 ft with 10 ft ceilings holds 3,000 cubic feet of air. If you raise that ceiling to 14 ft you're at 4,200 cubic feet. Each extra foot of height can add 5-10% more to the cooling load because hot air pools above your head and radiates back down.
Map your heat sources. Walk every corner of the shop. Note where equipment sits: compressors, welders, grinders, dust collectors, even high-wattage lighting. These are your internal heat generators, and their placement determines where you aim ventilation.
Inspect insulation and seals. Check the wall cavities, the insulation in the roof or ceiling. The condition of every door seal. Overhead doors are the worst offenders. The rubber bottom seal and side brushes wear out and leave gaps you can see daylight through. Windows with single-pane glass or no weatherstripping bleed conditioned air.
Track temperature over a week. You'll want to place a cheap thermometer at your workbench, one at mid-room and one near the ceiling. Log readings at the same time each day, and note when doors open, when tools run and how long you're working in the space. That data is what tells you whether you need better insulation, better airflow or actual mechanical cooling.
Passive, Energy-Efficient Cooling Strategies
Shading windows with awnings can reduce heat entry into workshops. At Wilmington's latitude, a south-facing window needs an overhang about 18-24 inches deep to block midsummer sun while still letting in winter light. If permanent awnings aren't practical, shade cloth rated at 50-70% density works well over doorways and windows for a fraction of the cost.
Painting the roof white or using reflective coatings reduces radiant heat absorption. A "cool roof" coating with solar reflectance above 70% can lower the surface temperature of a metal roof by tens of degrees. If you've got a dark-colored metal roof, this single upgrade changes the baseline temperature inside the shop more than any fan. Passive house design research shows that envelope improvements like orientation, shading and reflective surfaces can cut heat gain by 15-25%.
Installing reflective window film helps block solar heat gain on east- and west-facing glass. The film is a peel-and-stick project that takes about 20 minutes per window. Combine it with exterior shading and you've addressed two of the biggest entry points for solar heat without touching a wire.
Active, Energy-Efficient Cooling Options
Portable air conditioners work in sealed, insulated spaces where you run them occasionally. A unit rated 8,000-14,000 BTU handles 200-400 square feet, depending on insulation quality. The catch: if your overhead door is open half the time, a portable AC dumps energy out that opening. They also need an exhaust hose routed to a window or wall port, which takes up floor space.
Evaporative coolers are cheap to run. A Hessaire MC37M moves 3,100 CFM on just 250 watts; running it 8 hours costs about $0.37 at 18.34¢/kWh, or about $11 a month. The limitation is humidity. Evaporative cooling depends on the gap between wet-bulb and dry-bulb temperature. In Wilmington's humid summers, that gap shrinks, so you get less cooling effect and add moisture that can create rust issues on bare steel and cast iron. Dehumidifiers lower humidity to make high temperatures feel more tolerable, but running a dehumidifier alongside an evaporative cooler works against itself.
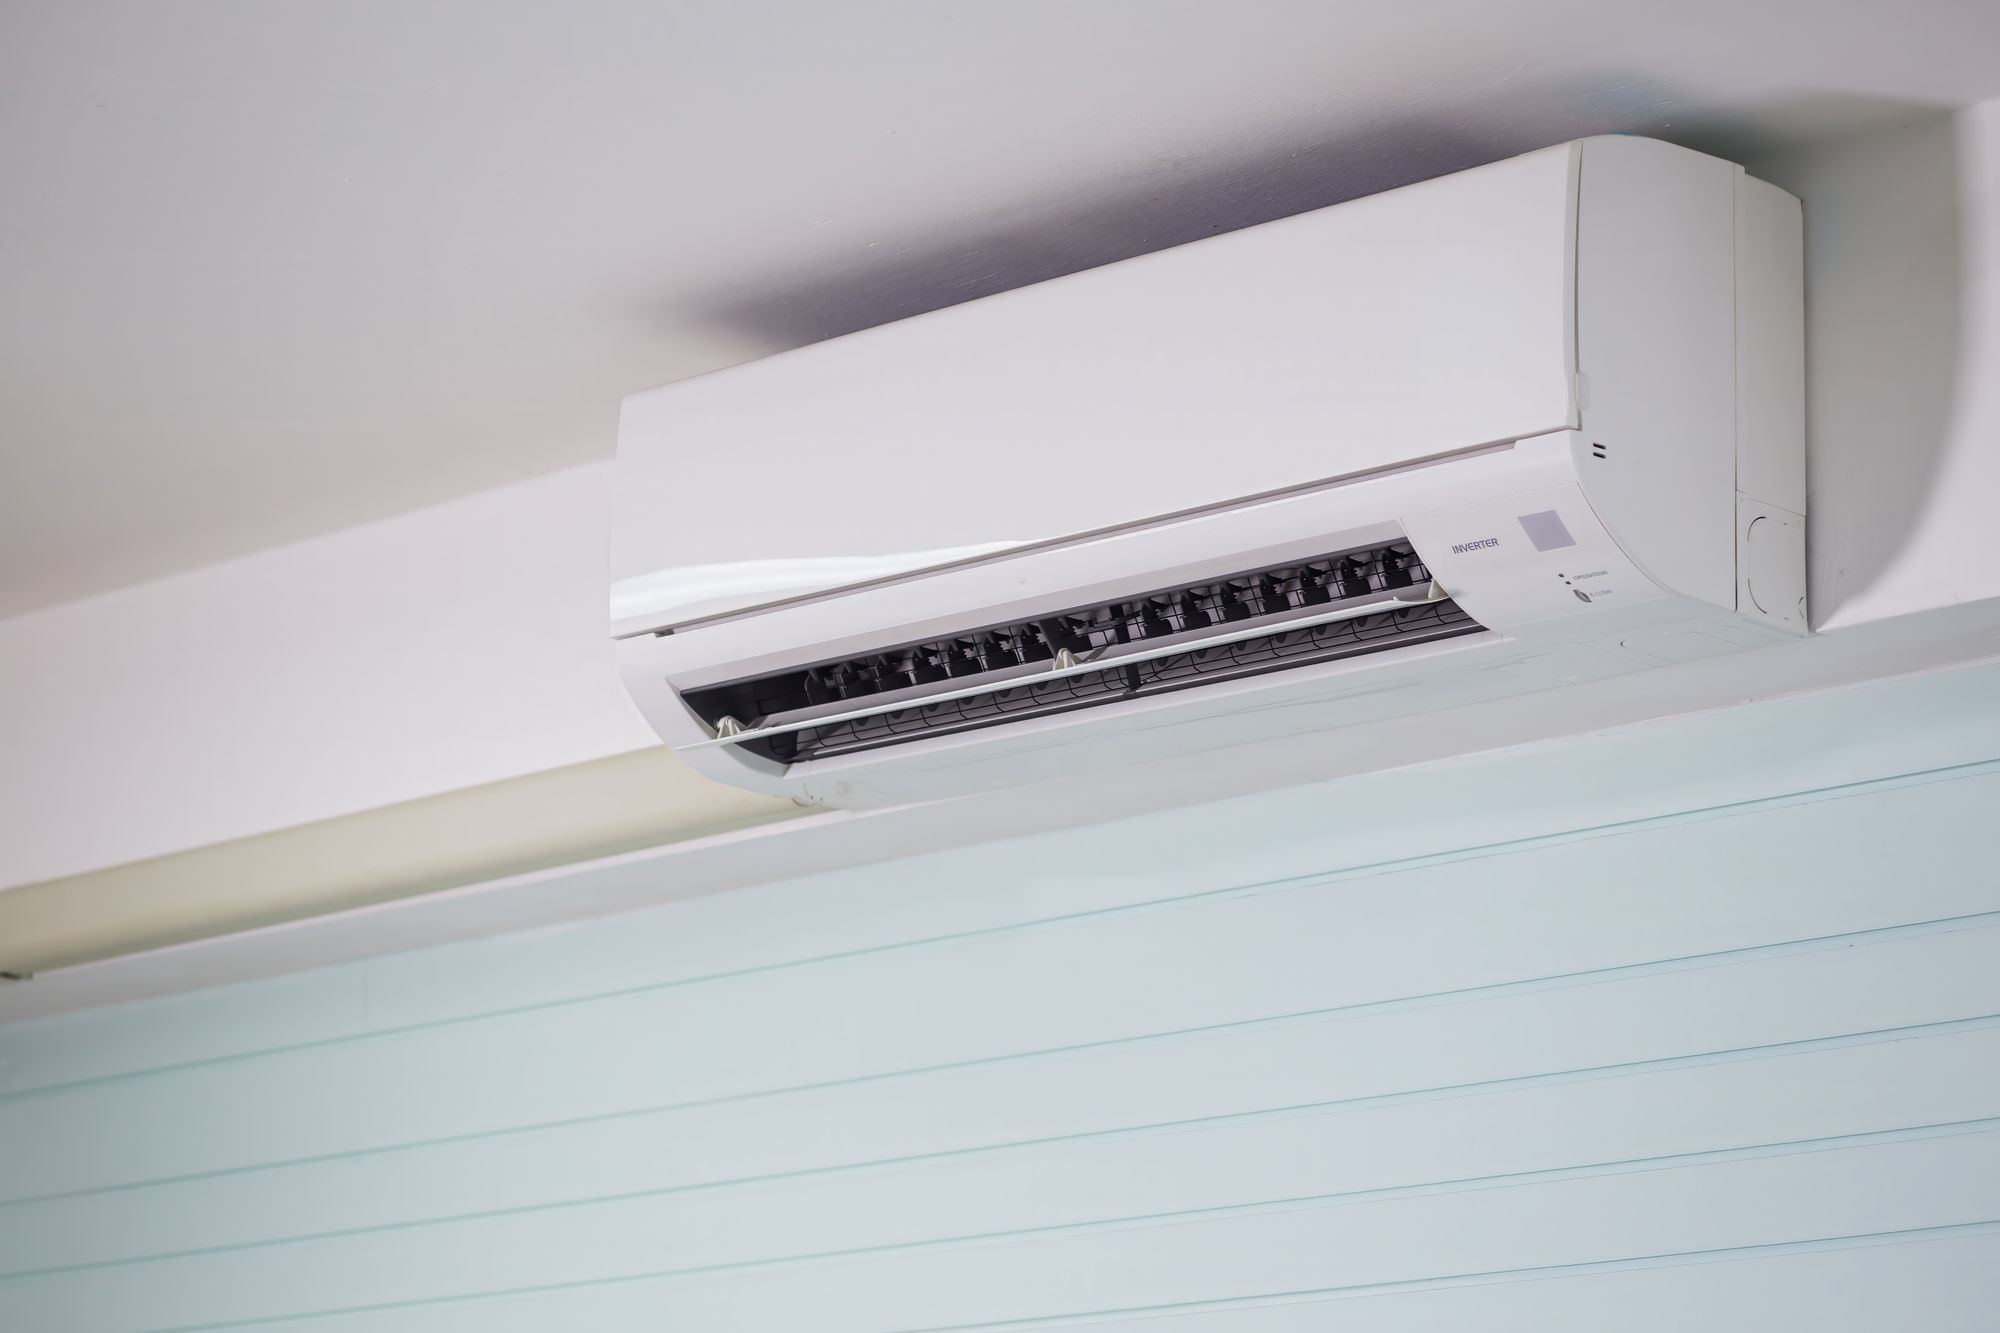
Ductless mini-splits provide the best comfort when the shop is insulated and used regularly. A mini-split heat pump provides efficient climate control for insulated workshops because it moves heat rather than generating it, delivering 3-4 units of cooling per unit of electricity consumed.
Ductless Mini-Splits
Right-sizing matters. Trane's sizing guidelines suggest 12-25 BTU per square foot depending on insulation, ceiling height and climate zone. A shop that is 300 square feet with decent insulation needs about 9,000 BTU, but poor insulation or ceilings above 12 feet pushes that toward 18,000 BTU or higher. Oversizing wastes money and causes the system to short-cycle, which wears the compressor and leaves humidity unchecked.
DIY prep tasks you can handle before the installer arrives:
- Upgrade wall and ceiling insulation
- Seal air leaks around windows, doors and electrical penetrations
- Run the electrical circuit (if you're comfortable with panel work)
- Mount the wall bracket for the indoor unit
- Plan the route for the refrigerant line between the indoor and outdoor units
Refrigerant charging needs an EPA-certified technician. A wrong charge ruins efficiency and can damage the compressor. This is one job where calling a pro is non-negotiable.
Ventilation and Airflow Strategies
Improving ventilation and airflow can help maintain a comfortable environment even without mechanical cooling. Moving air across skin increases evaporative heat loss from sweat, which is why a 5 mph breeze can make 90 °F feel closer to 85 °F.
Cross-ventilation uses intake and exhaust fans to establish airflow through the shop. You'll want to mount intake vents low on the shaded wall and exhaust fans high on the opposite wall. Hot air collects near the ceiling, so a high exhaust pulls that heat out first. Size the exhaust fan so intake openings supply enough air without creating negative pressure that pulls dust in from every crack.
Ceiling fans and shop fans create large-volume air movement with low energy draw. A 52-inch ceiling fan that is spinning at low speed moves thousands of CFM for under 75 watts. Oscillating shop fans placed at bench height keep you cooler while working. Using fans can enhance evaporative cooling efficiency in workshops by increasing the rate at which sweat dries from skin.
Tool exhaust venting is often overlooked as a cooling strategy. Dust collectors, table saws and grinders produce both heat and airborne particles. Venting these outdoors removes heat at the source and keeps dust off cooling coils and fan blades, which would otherwise reduce their performance over time.
Insulation and Sealing (Energy-Efficient)
Seal gaps around doors and window frames using polyurethane foam for large voids and silicone or acrylic caulk for smaller cracks. Check around electrical boxes, duct penetrations and where walls meet the roof. Even small leaks multiply cooling load because they let in both heat and humidity.
Weatherstrip large overhead doors. The bottom seal, side brushes and top header seal on an overhead door degrade within a few years, especially in coastal climates. Foam-core insulation kits for overhead door panels cost a few hundred dollars and cut solar heat gain through the door surface. The step-by-step project for this is below.
Insulate ceilings and exterior walls where practical. For Wilmington's climate zone (about zone 3-4), aim for R-13 to R-21 in walls and R-30 to R-49 in ceilings or roof assemblies. Metal-roofed buildings benefit the most from ceiling insulation because metal transfers heat fast. Spray foam outperforms fiberglass batts on irregular surfaces but costs more per square foot.
Tools, Layout and Heat Management
High heat-generating equipment should be vented outdoors. Place compressors, welders and large motors away from your primary work zone. If possible, wall them off in a separate alcove or closet with a dedicated exhaust fan. This concentrates waste heat in one spot and pushes it outside rather than letting it spread.
Venting band saws, grinders and stationary sanders through exterior duct runs removes both heat and particulate. The dust collection system you already have can double as a heat exhaust if you route the discharge outside instead of filtering and returning air to the room.
You'll want to schedule heavy tool use for cooler hours. Running a welder or plasma cutter at 7 a.m. instead of 2 p.m. avoids stacking tool heat on top of peak solar heat. This simple habit shift can keep afternoon temperature 5-8 °F lower.
Portable Solutions Versus Permanent HVAC
Portable ACs and evaporative coolers cost less upfront ($400-$1,200) but consume more energy per BTU of cooling and struggle with open doors. A portable AC rated at 12,000 BTU running six hours a day will cost several times more per month than a properly sized mini-split doing the same job, because the portable unit's single-hose design pulls conditioned air out of the room as exhaust.
If you're weighing portable setups for a garage-style workshop, I wrote a separate walkthrough on how to cool a garage without central air that covers portable options in detail. For people comparing permanent systems for heating and cooling, my guide on the best way to heat and cool a garage breaks down the long-term costs.
| Feature | Portable AC | Evaporative Cooler | Ductless Mini-Split |
|---|---|---|---|
| Upfront cost | $400-$800 | $300-$700 | $1,500-$4,000 installed |
| Monthly run cost (8 hrs/day) | $40-$80 | \~$11 | $20-$50 |
| Works with open doors | No | Yes | No |
| Humidity control | Partial | Adds moisture | Yes |
| Heating mode | No | No | Yes |
Maintenance and Energy Efficiency Tips
Clean filters and coils monthly. Clogged filters decrease a system's ability to transfer heat. On a mini-split, pull the front panel and rinse the mesh filter under running water. On portable ACs, slide the filter out and vacuum it. Blocked filters can reduce airflow in ventilation systems by 20-30%, forcing motors to work harder and run hotter.
Lubricate fan motors and bearings. Many shop fans, overhead hoists and exhaust fans have oil ports or greaseable bushings. A few drops of machine oil twice a year cuts motor load and the heat that comes with it. Check that exhaust fan blades and guards are clean. Buildup reduces CFM per revolution and increases motor temperature.
Schedule annual HVAC tune-ups for permanent systems. A certified tech checks refrigerant charge, thermostat calibration and electrical connections. Regular maintenance extends the lifespan of cooling systems by catching small problems before they become compressor failures. Unserviced units can break down more easily during summer, right when you need them most.
When to DIY Versus Call a Pro
ENERGY STAR rates most sealing and insulation tasks as moderate difficulty, achievable with basic hand tools.
Call a licensed tech for:
- Mini-split installation (refrigerant handling needs EPA certification)
- Electrical panel work or new circuit runs (permits and code compliance required)
Cost Estimates and Energy Savings
| Upgrade | Typical Cost | Estimated Energy Savings |
|---|---|---|
| Air sealing (workshop) | $100-$600 | 10-30% reduction in cooling costs |
| Wall + ceiling insulation | $2,000-$4,000 | 15-25% reduction in cooling load |
| Reflective roof coating | $150-$500 (DIY) | Roof surface temperature drops 20-40 °F |
| Ductless mini-split (installed) | $1,500-$4,000 | 3-4x more efficient than portable AC |
| Evaporative cooler | $300-$700 | \~$11/month operating cost |
Weatherization (air sealing plus insulation combined) typically reduces cooling energy use by 10-30% in residential buildings. For workshops with high solar heat gain through metal roofs and large doors, savings tend toward the upper end of that range.
Step-by-Step Mini Projects
Install a Shop Fan System
- 20-inch or 24-inch wall-mounted oscillating fan
- Choose a spot on the wall that is 7-8 feet above the floor, angled to sweep across your primary work zone.
- Find studs with a stud finder. If you're mounting to concrete block, you'll want to use sleeve anchors instead of lag bolts.
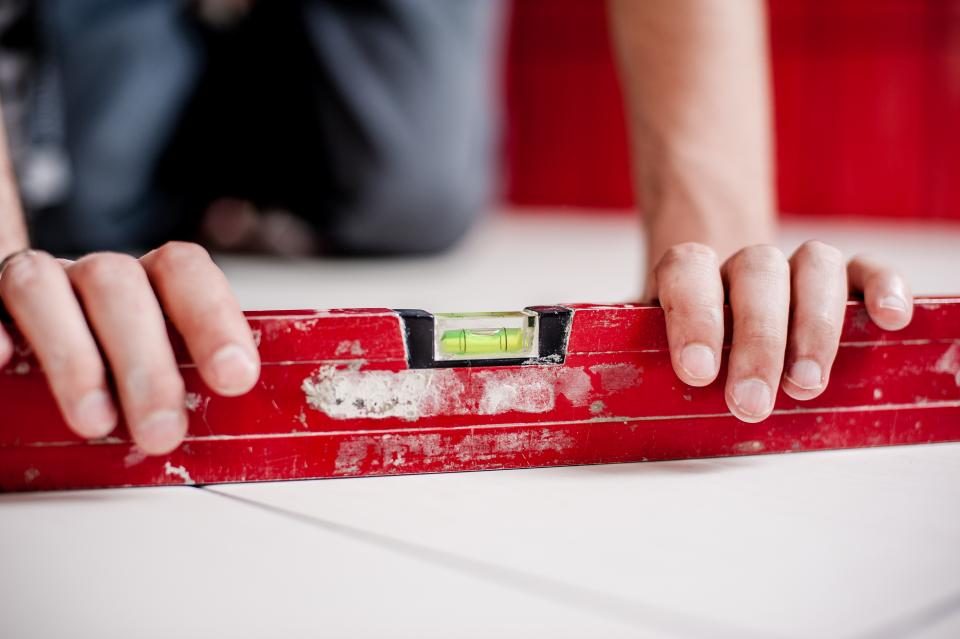
- Hold the bracket level against the wall and mark the bolt holes with a pencil.
- Drill pilot holes and drive lag bolts until the bracket is snug. Test by pulling on it firmly.
- Hang the fan on the bracket and secure the bolt or pin that keeps it in place.
- Plug into the nearest outlet, or hard-wire to a switch if you want wall control. For hard-wired installs, confirm the circuit is off at the breaker with a non-contact voltage tester before you touch any wiring.
- Run the fan on each speed setting and check for vibration. Vibration usually means loose bolts or a blade that is out of balance. Tighten hardware and check again.
Weatherstrip and Seal an Overhead Door
- Open the door fully. Remove the old bottom seal by unscrewing the retainer channel or pulling the seal out of its track. You'll want to cut the new seal to width and slide it into the channel, or screw the new retainer in place with the seal inserted.
- Close the door. Check that the bottom seal contacts the floor evenly across the full width. Do gaps appear at the corners? Adjust the retainer position if gaps appear at the corners.
- Remove old side weatherstrip by pulling out staples or unscrewing mounting strips. You'll want to press or screw the new brush or compression strip into the door frame, starting at the bottom and working up. The strip should compress lightly against the door panel when closed.
- Repeat at the top header. The top seal often needs adhesive-backed foam plus a compression strip to close the gap between the top panel and the frame.
- Close the door and light an incense stick. Move it slowly along every edge. Where the smoke pulls inward, air is leaking. Adjust or add material until the smoke rises straight.
Wrap-Up and Resources
The order I'd prioritize these projects:
- Add reflective roof coating or paint
- Install shade cloth or awnings over south- and west-facing glass