Installing a Pre-Charged Mini Split: Step-by-Step Guide for DIY Homeowners
Adding year-round comfort to a garage, shop, or home office just got simpler. Here's everything you need to know about installing a pre-charged mini split yourself.
Why a Pre-Charged Mini Split Is a Game Changer
A mini split system includes an indoor air handler, an outdoor condenser, and a line set that connects the indoor and outdoor units. Most units also come with a remote control. Installing a pre-charged mini split air conditioning system simplifies the installation process because the refrigerant is already sealed inside the line set and condenser at the factory. Pre-charged systems eliminate the need for a vacuum pump, manifold gauges, or an EPA refrigerant handling license, tasks that most traditional systems require a licensed HVAC technician for installation.
Let's break it down: pre-charged mini splits can provide heating and cooling without ductwork, making them ideal for spaces without existing HVAC access. They allow for targeted heating and cooling in specific zones: a detached garage converted to a gym, a 12×20 workshop, or a bonus room over the house. Pre-charged systems can be installed without an HVAC license, and homeowners save $1,000–$2,000 with DIY pre-charged systems compared to hiring contractors. DIY installation of pre-charged systems reduces overall installation costs while delivering reliable, year-round comfort in any room of your building.
Planning Your DIY Mini Split Installation
Before you begin, work through these planning items:
- Correct sizing of the mini split system is crucial for efficient operation. A 12,000 BTU unit typically covers up to ~500 sq ft depending on insulation quality and local climate. In colder climates, consider upsizing slightly. Energy efficiency in mini splits is enhanced by inverter-driven compressors, so look for one system with inverter technology.
- Choose a wall-mounted air handler for most garage, office, or room installs, though the exact indoor unit model may vary by application. The indoor unit should be mounted at least six to seven feet high with strong structural support, and indoor units must maintain proper clearance to ensure airflow and drainage. Keep at least 6 inches from the ceiling.
- Plan the shortest practical route for the pre-charged line set to the outdoor condenser, avoiding tight bends that could kink the copper.
- Place the outdoor condenser on a level concrete pad or wall bracket with at least 18–24 inches of clearance from the exterior wall. Most pre-charged mini splits require dedicated 220V/240V electrical circuits, and installing a pre-charged mini split generally requires a dedicated outdoor electrical disconnect box. Check local building codes and confirm your panel has capacity. Hiring a licensed electrician for wiring is strongly recommended.
Tools, Materials, and Safety Considerations
Here's what you'll need for the job:
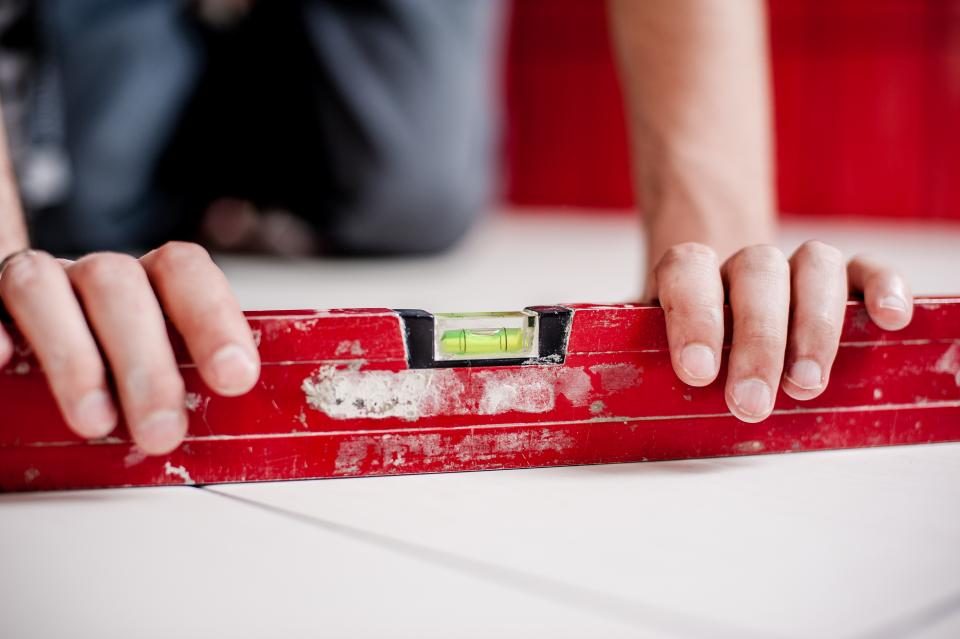
- A stud finder is needed to locate wall studs. Bring a drill/driver, appropriately sized hole saw, level, tape measure, and wrenches for fittings.
- A torque wrench is necessary to tighten flare nuts properly. A flaring tool is required for copper tubing connections on non-quick-connect models. You need a scale to weigh additional refrigerant accurately if topping off a non-pre-charged unit.
- Indoor mounting plate (usually supplied), outdoor condenser pad, vibration isolation pads, line set cover kit, and a wall sleeve.
- Electrical materials: properly sized wire, outdoor-rated disconnect, and the correct breaker per the unit's nameplate.
- Safety gear: safety glasses for drilling the wall, hearing protection for masonry, and gloves when handling the condenser coil or sharp-edged line set.
With a true pre-charged line set, note what you do not need: no vacuum pump, no micron gauge, no nitrogen tank, and no refrigerant charging equipment. Pre-charged line sets have built-in mechanical valves to prevent refrigerant loss during connection. A vacuum pump is used to remove air from the lineset only in traditional installs. Always turn off power at the panel before any wiring and never open sealed refrigerant valves prematurely.
Step-by-Step: Installing the Indoor Air Handler and Line Set
- Use your stud finder to locate studs (typically 16 or 24 inches on center). Level the mounting bracket and secure it with lag screws into the studs for strong structural support.
- Mount the indoor unit about 7 feet from the floor. Use the manufacturer's template to mark the wall penetration, ensuring the hole slopes slightly downward toward the exterior for condensate drainage.
- Drill a 3½" hole for the line set through drywall, sheathing, and siding. Insert the plastic wall sleeve included with most DIY mini split kits.
- Connect the condensate drain hose to the indoor unit. Bundle the control cable and pre-charged line together, taping them so they feed smoothly through the wall.
- Proper installation requires careful mounting and routing to avoid kinks in refrigerant lines. Keep each bend radius large and smooth. Never force the copper into tight turns. Gently feed the line and drain through the interior wall sleeve to the exterior.
- Hang the indoor air handler on the bracket until it clicks, confirming it locks on the top tabs and sits slightly pitched toward the drain side to handle moisture properly.
Mounting the Outdoor Condenser and Connecting Pre-Charged Line Sets
- Level a concrete pad on compacted ground or install a heavy-duty wall bracket. Install the outdoor unit 8 inches above the highest snowfall to keep it clear in colder climates.
- Place rubber isolation pads beneath the condenser feet to reduce vibration and noise transfer into the structure. Insulate exposed line sections and cover them with a UV-resistant line set cover for a clean, professional exterior finish.
- Carefully uncoil the pre-charged line, routing it from the wall penetration to the outdoor condenser without twisting, crushing, or exceeding maximum bend limits, and keep the total line set length within the factory-charged allowance listed in the manual.
- Remove protective caps just before connection to keep dust and moisture out of the sealed circuit. The refrigerant in quick-connect systems remains sealed until the system is fully connected. Hand-thread color-coded fittings onto the matching service ports, then use a torque wrench to tighten flare nuts to specifications listed in the manual.
- With true pre-charged line sets, no vacuum pump is needed. Open the refrigerant valves on the outdoor condenser to release the factory charge into the complete loop: line set and indoor air handler.
- Seal the exterior wall penetration with silicone or polyurethane foam for weather resistance. Inspect all connections for leaks before proceeding.
Electrical Hookup, Startup, and Performance Checks
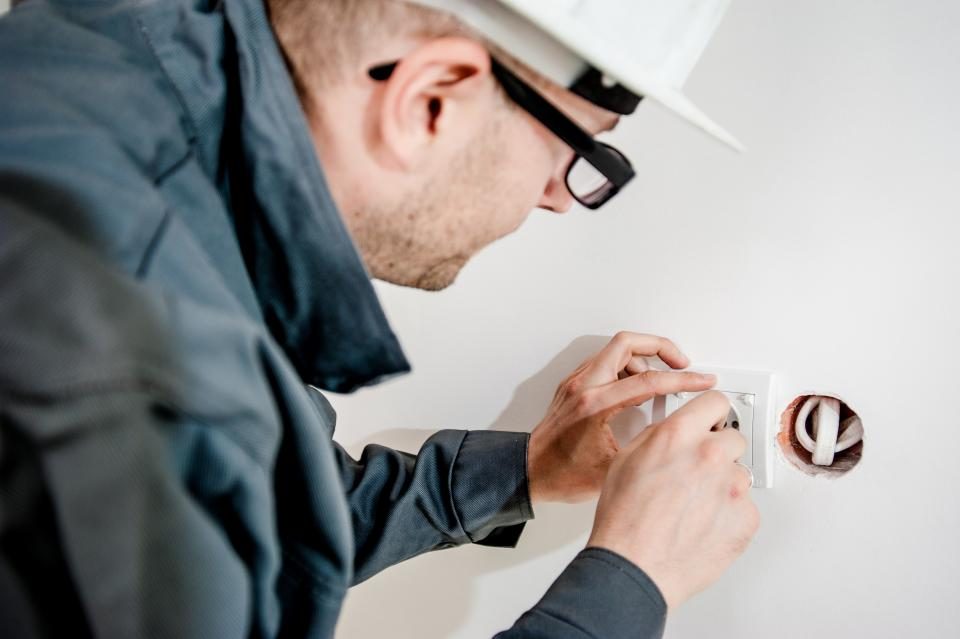
Electrical connections must follow local codes and specifications specified by the manufacturer. In many jurisdictions, a licensed electrician is required for this portion of the job.
- Run a dedicated circuit from the main panel to an outdoor disconnect near the condenser, then to the unit's electrical lugs per the wiring diagram. Many 9,000–12,000 BTU ductless mini split systems run on 120V, but larger models typically need 240V. Match breaker and wire size to the unit's MCA and MOP ratings on the nameplate.
- Connect the communication and power cable between the outdoor condenser and the indoor air handler, matching numbered terminals exactly to avoid control errors.
- Perform a pressure check using nitrogen up to 500 psi to verify the integrity of all connections before releasing refrigerant into the system.
- Restore power at the breaker. Use the remote to select cooling or heating mode and allow the system several minutes to begin operating.
- Confirm the outdoor condenser fan and compressor start. Feel for a temperature change at the indoor air handler. Verify condensate is draining properly outside.
- Inspect all pre-charged line set connections for signs of oil residue or hissing that could indicate leaks. If you suspect an issue, shut the system down and contact the manufacturer or a licensed HVAC technician.
Monitor your ductless mini split over the first few days in both heating and cooling modes. Clean the indoor filters regularly. Pre-charged mini splits are one of the best upgrades you can make to any space in your house. Enjoy the quiet, efficient, year-round comfort of a properly installed system.